When LEGO announced that it would be making a kit of the International Space Station, I ordered it as soon as it was available.
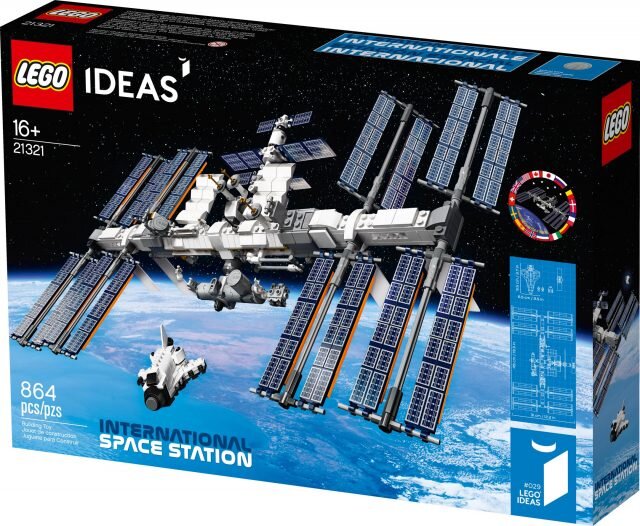
But then, my friend Tim managed to make the whole idea more exciting by suggesting an excellent plan on Twitter.

I didn’t know anything about how I’d make this happen, and I’ve never tried an electronics project before in my life, but I was pretty sure I could work it out.
I’d already lit up a LEGO kit using the gear from Light My Bricks, so while I waited for them to design and launch an ISS set, I got cracking on the rest. I ordered an Arduino board to control the lights with built in WiFi (the Arduino UNO WiFi Rev2).

I started with the software piece, because that felt less intimidating. I knew I’d need two things – a way to tell that the ISS was going overhead, and a way to tell the Arduino that.
Version one (Updated below)
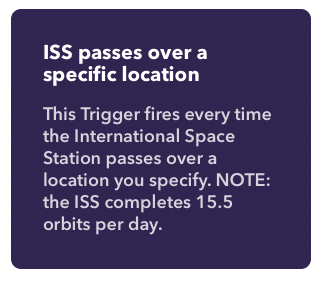
The first part was easy with IFTTT, who already have an ISS pass as one of their services.
The second part I achieved using Blynk, an IOT cloud service. In the Blynk iOS app, I chose the Arduino board, and created a project with a single virtual button.

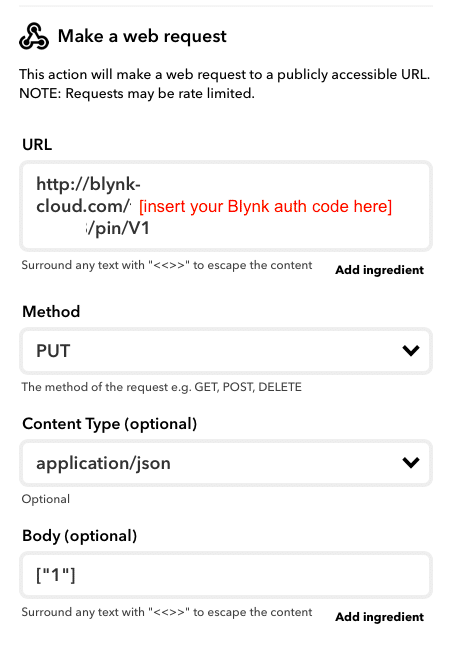
Blynk gives you an Auth Token for your project. Using that, I was able to create a webhook so that as the ISS trigger fired in IFTTT, it would send a message to Blynk to “switch” that virtual button on. This is the “that” in “If this, then that”.
Next up! Hardware! This had me well out of my comfort zone, so I after asking loads of friends for advice (thanks meriko! thanks Sam!) I put out a call on twitter and Oliver rode to my rescue. He explained that I needed a relay shield, so that I didn’t fry my Arduino with too many lights. We ordered this one! I connected the power cable from the lighting set to the relay (PLEASE NOTE: Doing this is totally NOT endorsed by Light My Bricks and will absolutely void your lights warranty and do NOT come crying to me about it). We powered the relay off the Arduino board. AND IT WORKED!

Now I needed the Arduino sketch. It needed to check the state of the virtual button in Blynk, and if it found the switch was “on”, it needed to turn on the lights for a period of time. Then it needed to turn the lights off, and reset the button back to off. This is a pretty simple sketch, but it took me a LOT of time and googling to get to grips with this. Then Oliver helped me add in the relay language.
/* Comment this out to disable prints and save space */
#define BLYNK_PRINT Serial

#include <SPI.h>
#include <WiFiNINA.h>
#include <BlynkSimpleWiFiNINA.h>

// RELAIS Shield
#include <Wire.h>
#define I2C_ADDR  0x20  // 0x20 is the address with all jumpers removed

// You should get Auth Token in the Blynk App.
// Go to the Project Settings (nut icon).
char auth[] = "[YOUR OWN AUTH CODE GOES HERE]";

// Your WiFi credentials.
// Set password to "" for open networks.
char ssid[] = "[YOUR OWN SSID GOES HERE]";
char pass[] = "[YOUR OWN PASSWORD GOES HERE]";

BlynkTimer timer;
const int buttonPin = V1;

void setup()
{
  // Debug console
  Serial.begin(115200);
  Wire.begin(); // join i2c bus (address optional for master)
  Serial.println("I2C initialised");

  // Turn off all outputs
  Wire.beginTransmission(I2C_ADDR);
  Wire.write(0x00); // IODIRA register
  Wire.write(0x00); // Set all of bank A to outputs
  Wire.endTransmission();
  Serial.println("LEDs off");

  Blynk.begin(auth, ssid, pass);

  Serial.println("Blynk initialised");

}

// This function is called whenever the assigned Widget changes state
BLYNK_WRITE(V1) {  // vPin is the Virtual Pin assigned to a Button Widget
  int pinValue = param.asInt();
  if (pinValue == 1) {
    Serial.print("I am turning on the lights");
    ledOn();
    timer.setTimeout(5000, TurnOffLights);
  }
}

void TurnOffLights() {
  Serial.print("I am turning off the lights");
  ledOff();
  Blynk.virtualWrite(V1, LOW);
}

void loop() {
  Blynk.run();
  timer.run();
}

void sendValueToLatch(int latchValue)
{
  Wire.beginTransmission(I2C_ADDR);
  Wire.write(0x12);        // Select GPIOA
  Wire.write(latchValue);  // Send value to bank A
  Wire.endTransmission();
}

void ledOn() {
  sendValueToLatch(0xff);
}

void ledOff() {
  sendValueToLatch(0x00);
}
Basically, this sketch connects the Arduino board to your WiFi and to the Blynk project using the Auth Token. When it sees that the Blynk button is ON it turns on the lights, and then after a period of time turns them off and resets the Blynk button, waiting for the next pass from the Space Station.
Unbelievably, this worked FIRST TRY. You have to squint a bit to see the light turn on in this video. I only have the one LED on in the centre of the ISS for testing.
Note that I’m turning the Blynk button on myself, rather than waiting for IFTTT to do it, but the IFTTT part works great too.
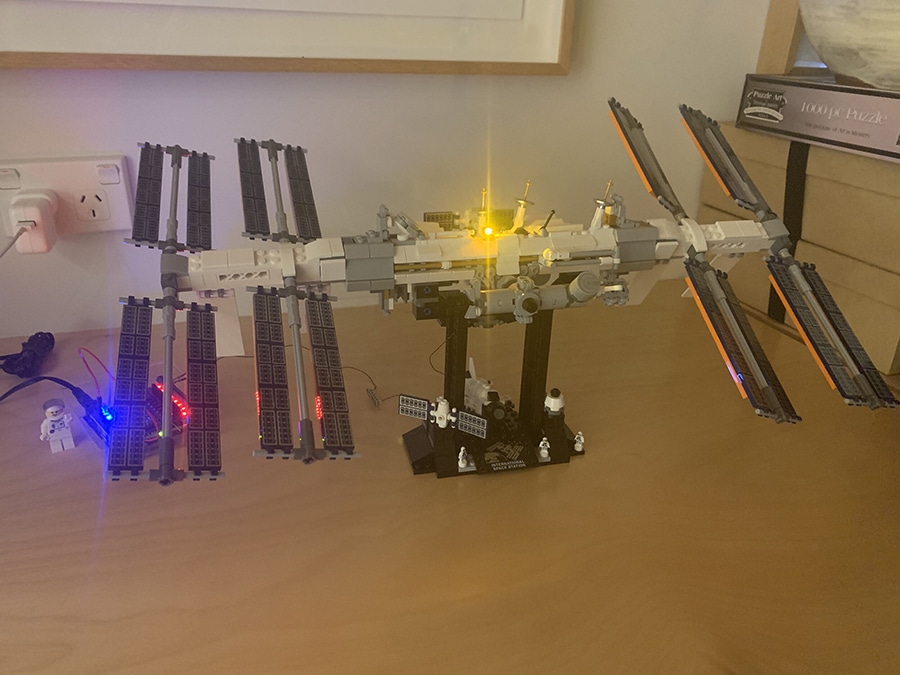
After a few weeks, Light My Bricks released their official ISS set, and I was able to complete this awesome project in all its glory.
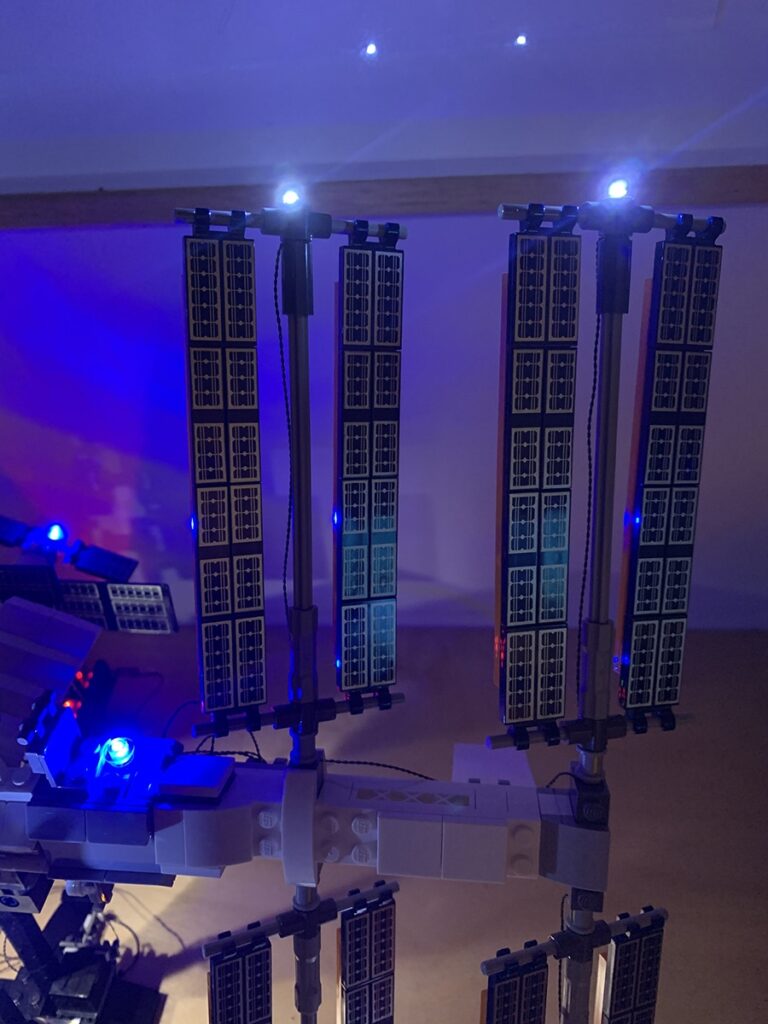

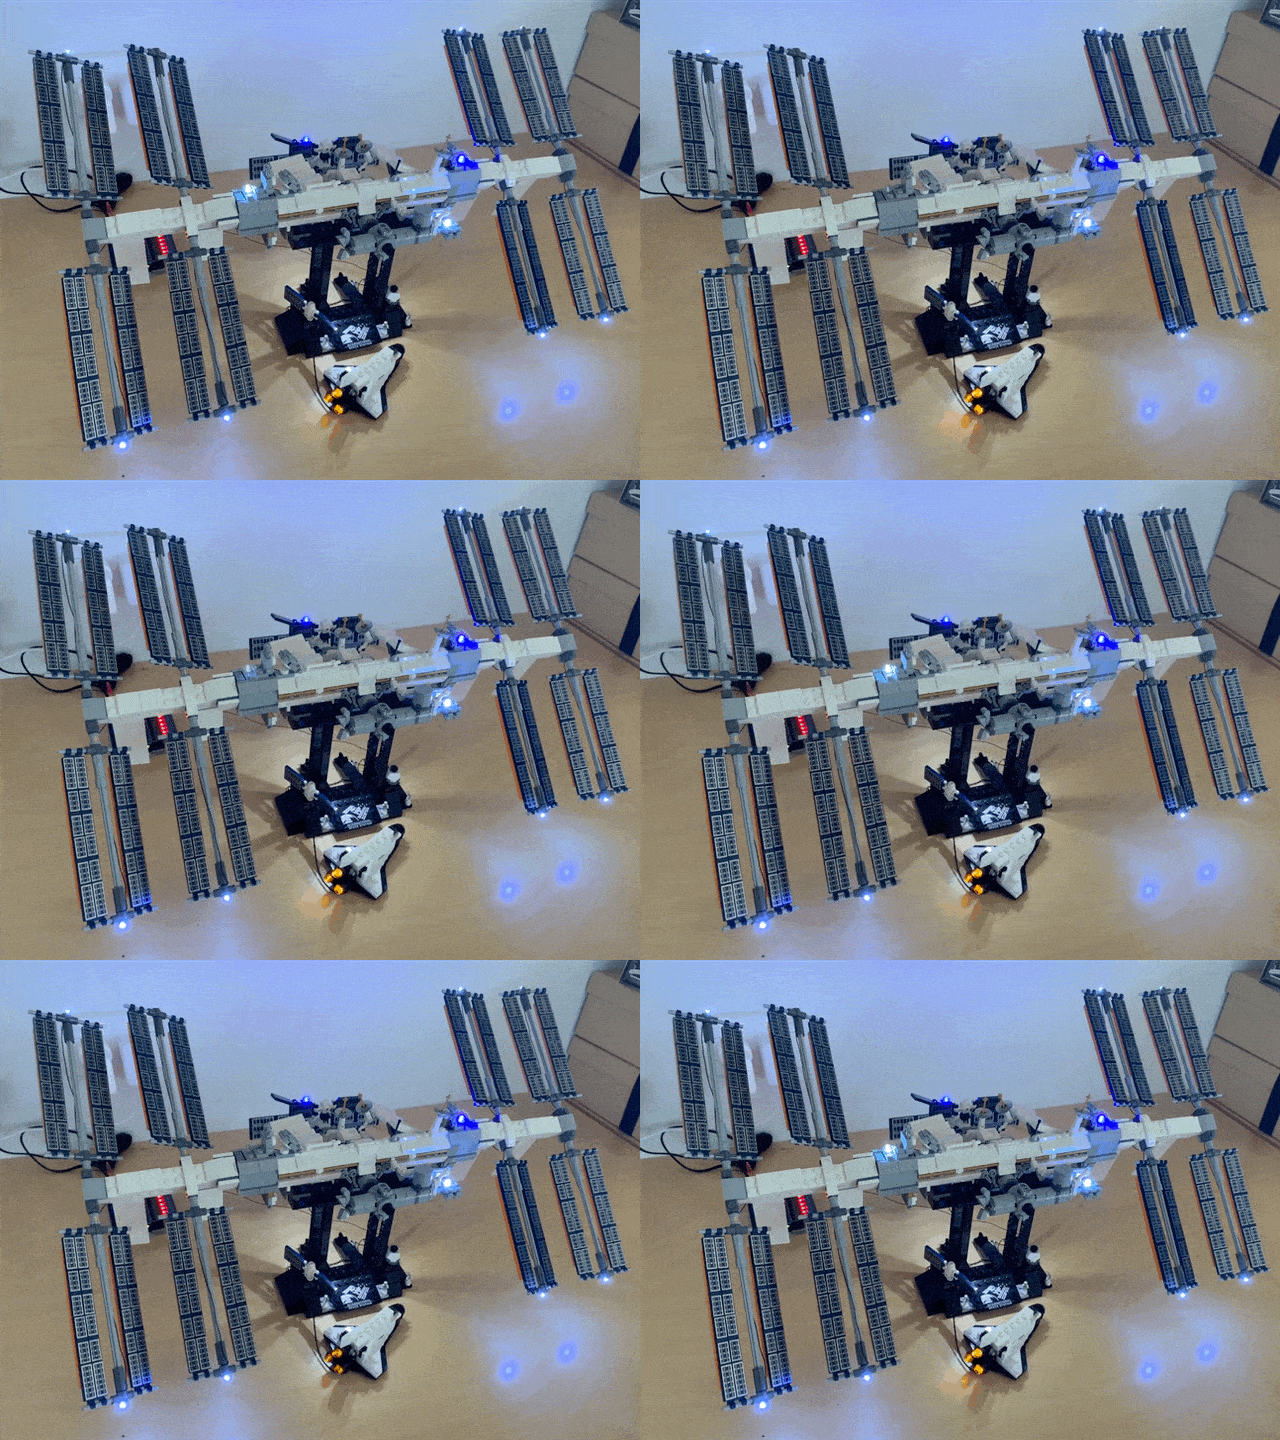
Massive massive thanks to Oliver for helping, to Tim for the original idea, and to Mike Monteiro for cheering me along all the way through. I’m also quietly ignoring Adam Savage’s suggestion that I add a motor so that it moves for now (you can watch him build his own LEGO ISS here). One step at a time!
Version Two (March 2023)
Two things happened to take the delightful lights offline. Blynk end-of-lifed the platform I’d used above and launched a new one. And IFTTT paused its ISS trigger because the API it was using was deprecated. Disaster!
What I thought would be a five minute job to fix actually turned out to be a lot harder — massive thanks to Karl for his patience and ChatGPT for the Arduino coding assist.
This new sketch eliminates IFTTT altogether and uses an Open Notify API to determine whether the ISS is overhead. It also uses the new Blynk platform so we still have a virtual “button” to use as above. Note that the sketch below uses the latitude and longitude box for New Zealand — you’ll need to adjust that to your own location.
/* Fill-in information from Blynk Device Info here */
#define BLYNK_TEMPLATE_ID "TMPLIFWF51un"
#define BLYNK_TEMPLATE_NAME "ISS New"
#define BLYNK_AUTH_TOKEN "your blynk token here"

/* Comment this out to disable prints and save space */
#define BLYNK_PRINT Serial

#include <SPI.h>
#include <WiFiNINA.h>
#include <BlynkSimpleWiFiNINA.h>
#include <HttpClient.h>
#include <ArduinoJson.h>

// RELAIS Shield
#include <Wire.h>
#define I2C_ADDR  0x20  // 0x20 is the address with all jumpers removed

// Your WiFi credentials.
// Set password to "" for open networks.
char ssid[] = "your SSID";
char pass[] = "your password";

const char* iss_server = "api.open-notify.org";
const int iss_port = 80;
const char* iss_path = "/iss-now.json";
float iss_latitude;
float iss_longitude;

BlynkTimer timer;
const int buttonPin = V1;

// Initialize WiFi client object
WiFiClient wifiClient;

// Initialize HttpClient object
HttpClient http(wifiClient, iss_server, iss_port);

void setup()
{
  // Debug console
  Serial.begin(115200);
  Wire.begin(); // join i2c bus (address optional for master)
  Serial.println("I2C initialised");

  // Turn off all outputs
  Wire.beginTransmission(I2C_ADDR);
  Wire.write(0x00); // IODIRA register
  Wire.write(0x00); // Set all of bank A to outputs
  Wire.endTransmission();
  Serial.println("LEDs off");

  Blynk.begin(BLYNK_AUTH_TOKEN, ssid, pass);

  Serial.println("Blynk initialised");

  CheckISSLoop();
}

// This function is called whenever the assigned Widget changes state
BLYNK_WRITE(V1) {  // vPin is the Virtual Pin assigned to a Button Widget
  int pinValue = param.asInt();
  if (pinValue == 1) {
    TurnOnLights();
  } else {
    TurnOffLights();
  }
}

void TurnOnLights() {
  Serial.println("I am turning on the lights");
  ledOn();
  Blynk.virtualWrite(V1, HIGH);
  timer.setTimeout(50000L, TurnOffLights);
}

void TurnOffLights() {
  Serial.println("I am turning off the lights");
  ledOff();
  Blynk.virtualWrite(V1, LOW);
}

void loop() {
  if (WiFi.status() != WL_CONNECTED) {
    Serial.print("Reconnecting to WiFi");
    Blynk.begin(BLYNK_AUTH_TOKEN, ssid, pass);

    while (WiFi.status() != WL_CONNECTED) {
      delay(1000);
      Serial.print(".");
    }
    Serial.println();
    Serial.println("Reconnected to WiFi");
  }

  Blynk.run();
  timer.run();
}

void sendValueToLatch(int latchValue)
{
  Wire.beginTransmission(I2C_ADDR);
  Wire.write(0x12);        // Select GPIOA
  Wire.write(latchValue);  // Send value to bank A
  Wire.endTransmission();
}

void ledOn() {
  sendValueToLatch(0xff);
}

void ledOff() {
  sendValueToLatch(0x00);
}

bool getISSLocation() {
  Serial.println("Getting ISS location...");

  if (WiFi.status() == WL_CONNECTED) {
    int resultCode = http.get(iss_path);
    if (resultCode == 0) {
      int httpCode = http.responseStatusCode();

      if (httpCode == 200) {
        String payload = http.responseBody();
        Serial.println("Received ISS API response:");
        Serial.println(payload);

        StaticJsonDocument<256> doc;
        DeserializationError error = deserializeJson(doc, payload);

        if (error) {
          Serial.print("Error parsing JSON: ");
          Serial.println(error.c_str());
          return false;
        } else {
          iss_latitude = doc["iss_position"]["latitude"].as<float>();
          iss_longitude = doc["iss_position"]["longitude"].as<float>();
          return true;
        }
      } else {
        Serial.print("Error getting ISS location. HTTP code: ");
        Serial.println(httpCode);
      }
    } else {
      Serial.print("Error getting ISS location. GET failed with code: ");
      Serial.println(resultCode);
    }
  } else {
    Serial.println("WiFi not connected.");
  }
  return false;
}

void CheckISSLoop() {
  if (getISSLocation()) {
    Serial.print("ISS Location: ");
    Serial.print(iss_latitude, 6);
    Serial.print(", ");
    Serial.println(iss_longitude, 6);

    if (iss_latitude >= -47.35 && iss_latitude <= -34.10 && iss_longitude >= 165.74 && iss_longitude <= 179.09) {
      Serial.println("ISS is above given latitude and longitude!");
      TurnOnLights();
    } else {
      Serial.println("ISS is not above given latitude and longitude.");
    }
  }

  timer.setTimeout(60000L, CheckISSLoop);
}